



Blog
Flexible Endoscope Insertion Tube Replacement: Damage Patterns, Sizing, and Acceptance Checks

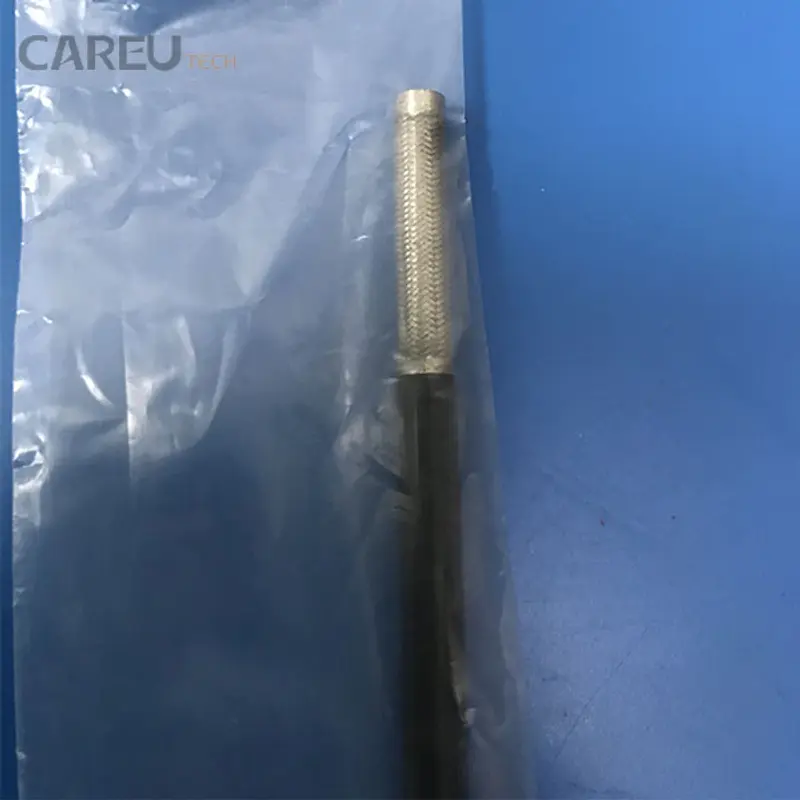
When a flexible endoscope comes back from a case with a kinked shaft, a flattened tube, or a bite mark through the jacket, the question at the repair bench is always the same: patch, section, or replace the insertion tube? The answer drives most of the repair cost, because the insertion tube is the largest and most part-dense assembly on a gastroscope, colonoscope, or bronchoscope. This article walks through how the insertion tube fails, how to decide between local repair and full replacement, the specification data a parts supplier needs before quoting, and the acceptance checks that confirm the scope is safe to return to service.
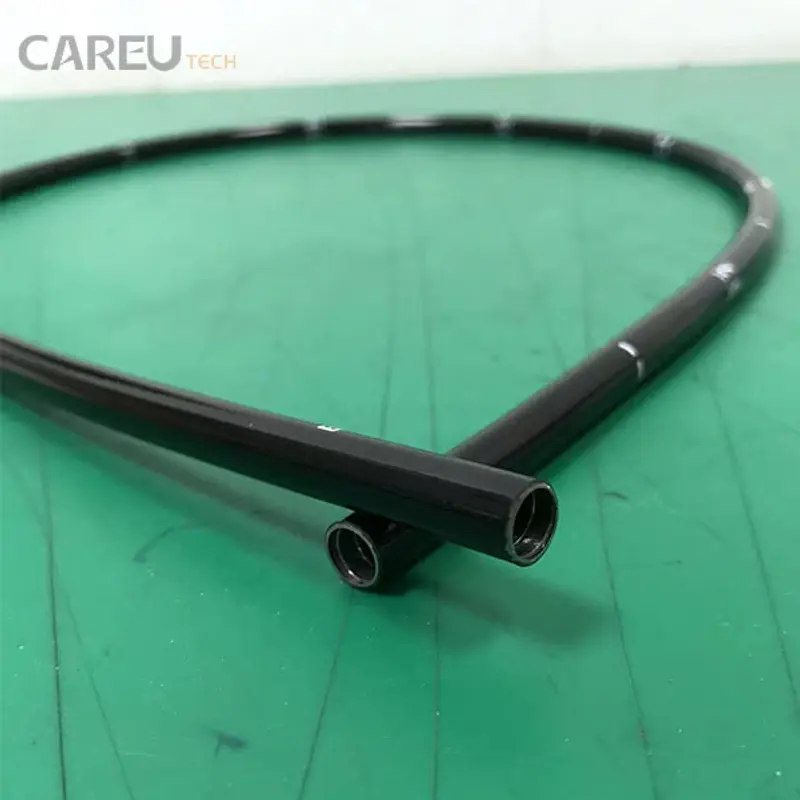
What the insertion tube carries
The insertion tube is not a simple sleeve. Along its length it bundles the angulation wires that run to the bending section, the light and image fibers or video wire, the suction/biopsy channel, air and water tubing, and in many models the auxiliary water channel. Around those runs sit the spiral coil that gives the tube its torque-following behavior and the braided mesh and outer jacket that give it stiffness, shape retention, and a smooth insertable surface. Because every internal pathway crosses the insertion tube, damage to the tube can produce symptoms far from the damage site: a jacket crack near the middle can fog the image at the tip, and a crushed coil can kill torque without any visible external defect.
This is also why insertion tube work is unforgiving of shortcuts. Repacking the coil, re-routing the angulation wires with the correct wrap counts, and restoring the channel connections all affect handling and function, not just appearance.
Damage patterns and what usually causes them
| Damage pattern | Typical cause | First-line response |
|---|---|---|
| Kink or permanent bend mid-shaft | Forced insertion against resistance; torque applied on a jammed tube | Replace the tube section if coil is deformed; check channels for collapse |
| Jacket crack, blister, or stickiness | Chemical attack from incompatible disinfectant or wrong concentration; heat damage | Jacket-only replacement if localized and coil intact; tube replacement if full-length |
| Bite marks / puncture through jacket | Patient biting during unsedated procedures | Leak test immediately; if channel or bundle breached, tube replacement |
| Flattened or oval tube near distal end | Tube crushed in a drawer, door, or cart | Replace tube; verify angulation wire routing is undisturbed |
| Loss of torque follow-through | Broken or unwound spiral coil inside an intact jacket | Full tube replacement; external inspection will not show it |
| Fogging or image loss when the tube bends | Stressed image fiber bundle inside the tube | Bundle replacement or scope retirement decision |
Two of these patterns deserve emphasis because they are invisible. A coil that has unwound inside an undamaged jacket can leave the scope looking perfect while it no longer transmits torque, which clinicians experience as an unresponsive scope during looping. And a jacket that has hardened chemically will crack under flex cycles even though it passes today’s leak test. Both argue for a hands-on functional assessment, not a visual-only estimate, before promising a patch repair.
Patch, section, or full replacement
The decision comes down to how much of the tube’s internal structure is affected. Localized jacket damage over an intact coil and intact bundles can be repaired with a jacket sleeve or a localized section, which keeps cost and turnaround low. Damage that involves the coil, the angulation wire path, the channel, or the fiber bundle usually justifies replacing the complete insertion tube assembly, because disassembly cost is largely the same either way and a rebuilt tube restores the original stiffness profile.
Inspection discipline pays for itself here. One academic medical center that adopted routine borescope inspection after manual cleaning logged roughly 109,000 inspections over three years and sent scopes for repair 881 times—about 8 repairs per 1,000 uses. As technicians caught damage earlier, the share of repairs classified as major (over $8,000) fell from 12.1% to 3.2%, and the mean cost per repair fell from $4,426 to $2,337. Catching a jacket crack while it is still a jacket problem is exactly the difference between a minor repair and a full tube replacement.
Scope type changes the math as well. Small-caliber endoscopes used for transnasal EGD damage more often than conventional scopes: in one clinic’s seven-year comparison, procedures per damage event were 344 for small-caliber scopes versus 1,950 for conventional scopes, and repair cost per procedure was more than double. Fleets that run thin scopes should expect proportionally more insertion tube work and stock accordingly.
Specification data to confirm before ordering
Insertion tubes are matched to the scope model, but several dimensions still need confirmation, because manufacturers revise tube specifications across generations of the same model name and because some models were offered with alternative distal configurations. Before ordering, confirm every line in this table against the scope being repaired.
| Field | Why it matters | Where to confirm |
|---|---|---|
| Scope manufacturer, model, and serial prefix | Tube assemblies are keyed to model families; serial ranges flag mid-cycle spec changes | Scope body label and service manual |
| Outer diameter and working length | Stiffness profile, accessory compatibility, and insertion behavior follow these dimensions | Manufacturer specification sheet |
| Distal end shape and hardware | Distal fitting must mate with the existing bending section and light guide housing | Visual inspection of distal end |
| Channel inner diameter and layout | Suction/biopsy channel routing and connectors differ by model and generation | Service manual; measure O-ring and connector on the old tube |
| Angulation wire entry positions | Wire routing and wrap counts determine deflection feel and durability | Old tube on the bench; count before discarding |
| Air/water and CO2 tubing type | Tubing material and connectors differ across models | Old tube; trace both ends |
Our flexible endoscope parts category organizes insertion tubes and the related components by brand and scope model, and the flexible endoscope overview page gives a quick map of the product families involved in a typical tube replacement job.
Replacement workflow at the bench
The exact steps vary by model, but a disciplined replacement follows this sequence:
- Document and disassemble. Photograph the proximal connections, count and mark the angulation wire wraps, and record the position of every tube passing through the connector housing before removing anything.
- Strip the damaged tube. Open the scope body or connector housing, free the bundles, wires, and channel from the damaged tube, and lift them clear without kinking the bundles.
- Transfer to the new tube. Route the angulation wires with the recorded wrap counts, seat the suction/biopsy channel into its distal fitting, connect the air/water tubing, and align the light and image bundles into the distal assembly.
- Assemble and dress. Fit the distal hardware and bending-section connection, then close the body housing with fresh seals where the design specifies them.
- Test before dressing the exterior. Deflection, suction, air/water, and image checks come before final assembly; do not glue or crimp shut a scope that has not passed function tests.
Once function is confirmed, the scope faces the same acceptance criteria as any post-repair instrument, which is where the next section matters.
Acceptance checks before return to service
| Check | Method | Pass criterion |
|---|---|---|
| Leak test | Pressure leak tester per the scope’s service documentation; immersion observation | No bubbles at body housing, distal connection, or along the tube; ISO 8600-7 gives the test-pressure baseline for water-resistant endoscopes |
| Angulation | Full deflection in all four directions, with accessories passed down the channel | Full range without binding; wires hold position under load |
| Suction and biopsy function | Aspirate water; pass a biopsy forceps end to end | Rated flow; forceps passes without snagging |
| Air / water feed | Pressurize air and water lines | Steady feed and lens wash at the distal tip |
| Image | Test target at working distance; flex the tube during viewing | No dropout, fogging, or stress marks when the tube bends |
| Torque follow-through | Rotate the proximal tube and watch distal response | Distal end follows rotation without lag or free play |
| Insertion behavior | Hand-feel check along the tube; compare stiffness with a known-good scope | Smooth surface, no flat spots or hard sections |
The leak test deserves its place at the top of the order. Any insertion tube work disturbs the sealed pathway between the body housing and the distal assembly, and a slow leak found on the bench costs minutes; the same leak found after a clinical use costs a quarantine, a re-repair, and a reprocessing investigation.
Preventing the next failure
Most premature insertion tube failures trace back to reprocessing and storage rather than to clinical use. Verify that the disinfectant chemistry, concentration, and exposure time match the scope manufacturer’s validated instructions for use—the framework for what manufacturers must document is set by ISO 17664-1. Use correctly sized channel brushes, store scopes hanging with valves removed in cabinets that do not force tight bends, and keep transport cases padded. None of this is exotic; it is the accumulated difference between tubes that last their service life and tubes that are replaced early.
Facilities rebuilding their own fleet capability can pair this article with our guide to endoscope leak test failures for the diagnostic side and our biopsy channel replacement guide for the neighboring repair. Technicians who want hands-on training on tube replacement and angulation rebuilds can find the course structure on our repair training page, and anyone sourcing a specific insertion tube assembly can contact us with the specification table above filled in.