



Blog
Laboratory Equipment Maintenance: Centrifuges, PCR Thermal Cyclers, and Microplate Readers

Laboratory equipment sits between the classic “repair it” world of imaging devices and the “replace it” world of pipettes. A centrifuge, a PCR thermal cycler, and a microplate reader are capital instruments with serviceable parts, but their maintenance logic differs from medical device work: the dominant failure modes are mechanical fatigue, thermal drift, and optical aging rather than electronics. This article walks through what actually fails first in these three instrument families, which parts and consumables a service team should keep on the shelf, and how to verify performance with methods that stand up to an accreditation audit.
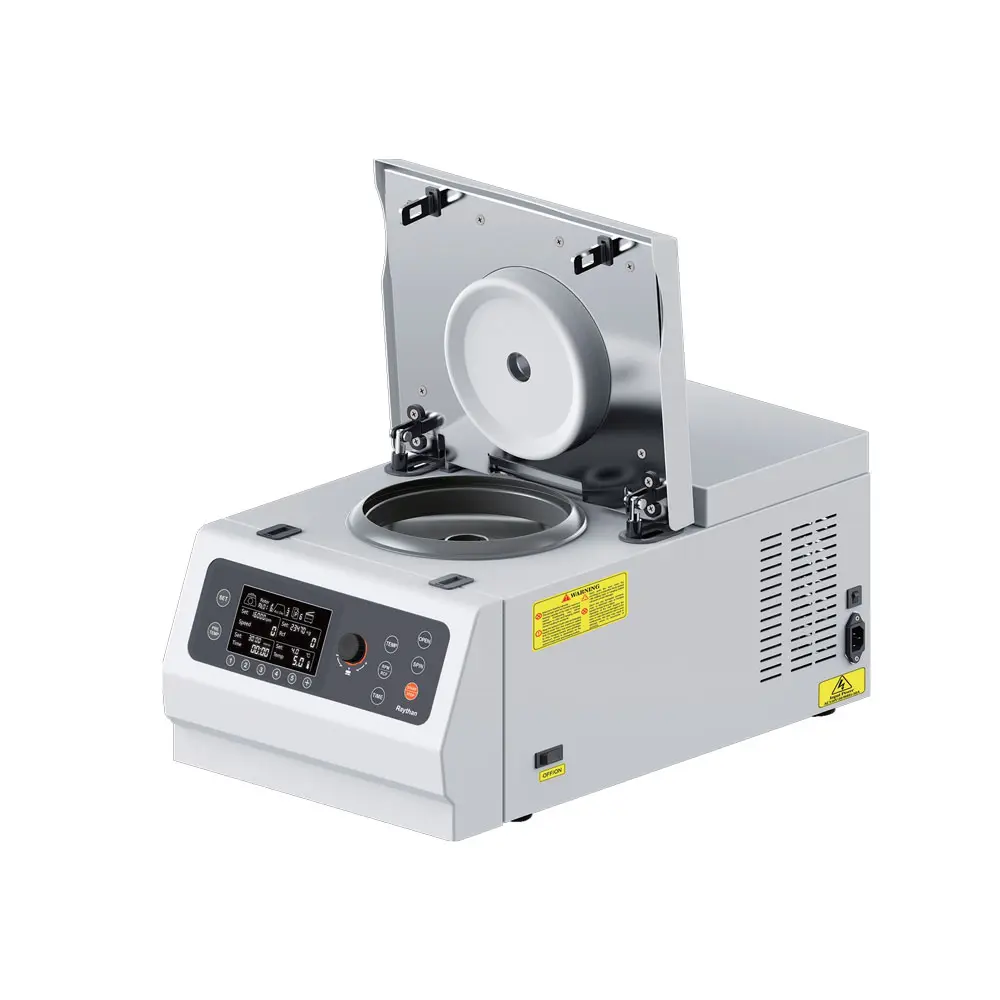
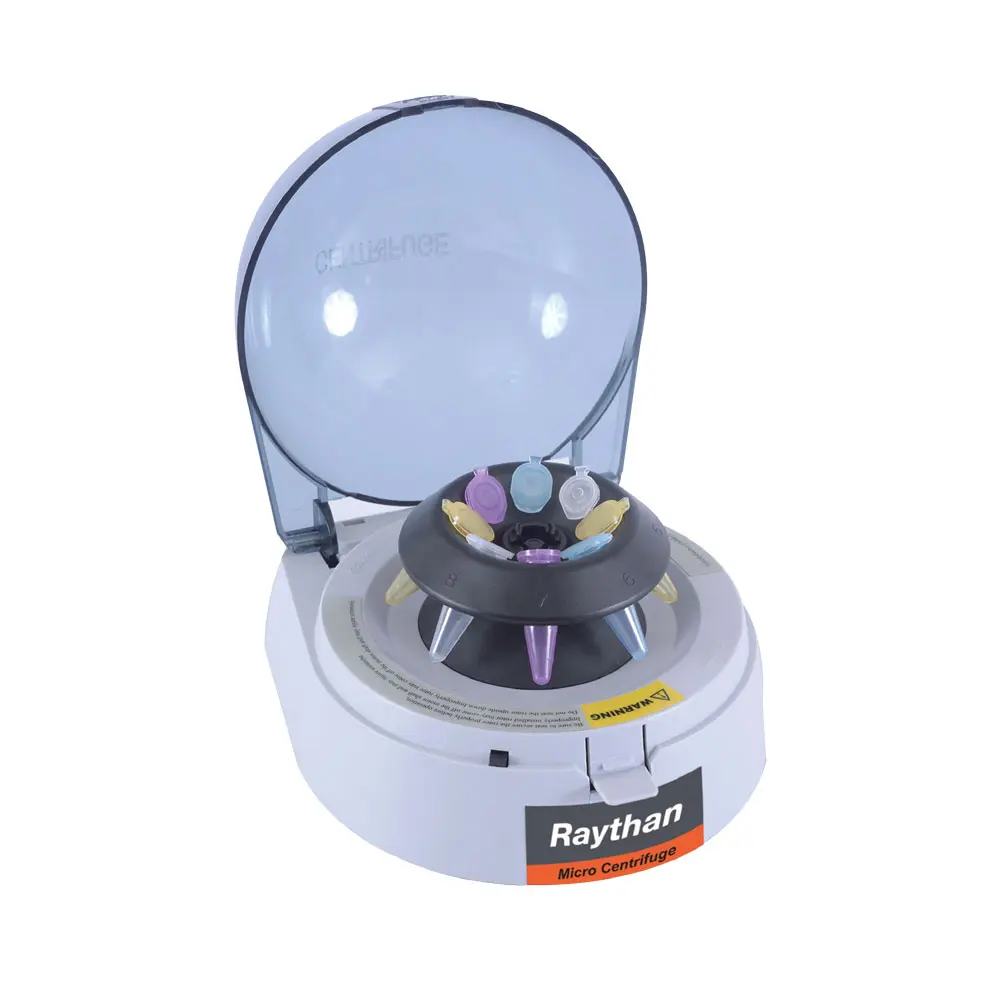
Centrifuges: the rotor is the consumable nobody treats like one
Three facts shape centrifuge maintenance. First, the failure that matters is mechanical: rotors are stressed materials running near their fatigue limits, and the destructive sequence builds quietly through imbalance, corrosion, and unlogged use. Second, containment is part of the design: the chamber, lid interlock, and (for biohazard work) aerosol-tight lids and buckets are engineered as a system, and service work must keep that system intact. Third, most of the high-frequency parts are inexpensive relative to the instrument—a bucket set, seal kit, or interlock switch costs a fraction of the downtime caused by running with a known-worn one.
Everything hazardous about a centrifuge concentrates in the rotor. It holds the load, absorbs the imbalance forces, and ages invisibly. A documented incident in the National Academies’ Prudent Practices in the Laboratory describes an ultracentrifuge running unattended with an aluminum rotor at 20,000 rpm: the rotor dislodged, friction generated heat and aluminum powder, and the resulting explosion shattered the lab’s windows. The investigation attributed it to a rotor not approved for that unit, with no use log and no speed derating. That sequence—wrong rotor, no log, unattended—is the standard centrifuge accident template, and every item in it is preventable with paperwork and a bench check.
Practical rotor care follows the manufacturer’s fatigue-life model. High-speed and ultracentrifuge rotors carry a rated life in cycles or hours, and manufacturers require use logs and, on older rotors, speed derating as the cycle count accumulates. Any rotor that has been dropped, shows corrosion, pitting, or deep scratches, or has been overheated should come out of service immediately, regardless of the log—fatigue cracks propagate without warning. Buckets, adapters, and O-rings age faster than rotors and are cheap to replace on schedule.
| Check / part | Interval | What to look for |
|---|---|---|
| Rotor visual inspection | Before every run; detailed weekly | Cracks, pits, corrosion, dents on bores and threads |
| Rotor use log and derating | Every run logged | Cycle count against manufacturer limit; derating schedule applied |
| Load balance by mass | Every run | Opposing tubes equal in mass, not volume; all positions filled or dummy-loaded |
| Lid interlock | Monthly | Lid cannot open while rotor spins; motor cuts on lid release |
| Bucket / adapter condition | Weekly | Cracked yokes, worn pins, hardened O-rings |
| Seals and gaskets (aerosol-tight lids) | Monthly; replace on schedule | Elastomer cracks, loss of compression |
| Speed verification | Annually, or per manufacturer | Displayed rpm against calibrated optical tachometer |
| Motor brushes / drive (where fitted) | Per service manual | Brush wear limit, unusual noise or vibration |
Biosafety adds a containment layer. CDC/NIH guidance in the BMBL treats centrifugation of infectious material as an aerosol-generating procedure: tubes and rotors are inspected before use, sealed rotors or safety buckets are used for biohazardous loads, and broken tubes inside a sealed rotor are opened only in a biosafety cabinet. A service team replacing a bucket, seal, or lid assembly must preserve that containment rating—fitting a non-original lid switch or an unmatched bucket can silently strip the machine of the safety behavior it was certified for.
PCR thermal cyclers: Peltier blocks drift before they die
A thermal cycler’s accuracy lives and dies with its Peltier block. The elements and their drive electronics age with thermal cycling, and the first casualty is well-to-well uniformity, which degrades quietly while reactions still amplify. Manufacturers publish the numbers a verification program should compare against; for example, Bio-Rad’s C1000 Touch platform specifies temperature accuracy of ±0.2 °C at 90 °C and well-to-well uniformity of ±0.4 °C within 10 seconds of arrival at 90 °C. Those are new-instrument values—what matters in service is how far the installed base has drifted from them.
Verification is a temperature-mapping job with a calibrated probe or a manufacturer’s qualification kit: measure a multi-well grid at the protocol’s key temperatures, compare against the published uniformity spec, and log the result. Two habits keep the data trustworthy. First, the reference instruments—probe, datalogger, tachometer for centrifuges—must be calibrated by an accredited or otherwise traceable service; ISO/IEC 17025 defines what competence and traceable calibration mean for a calibration provider. Second, verify after any block or lid repair, after moving the instrument, and on a fixed annual schedule, not just when an assay starts misbehaving.
Parts worth stocking for thermal cyclers: Peltier modules and block assemblies (for models where the manufacturer sells them as service parts), heated-lid gaskets, fuses, power supplies, and display/touchscreen assemblies. The heated-lid gasket is the highest-frequency item on the list—it is a consumable in practice, and a worn gasket produces evaporation and edge effects that get misdiagnosed as assay failure.
Microplate readers: lamps, filters, and optics age on schedule
Absorbance and fluorescence readers fail gradually. Tungsten-halogen and xenon-flash lamps lose intensity and stability; filters fade or drift; fiber optics and moving filter wheels develop positioning errors that show up as wavelength inaccuracy or unstable readings. The failure signature is usually statistical rather than dramatic: control OD values slide, CVs widen, and someone blames the assay kit.
The maintenance response is measurement-based. Track lamp hours or flash counts against the manufacturer’s rating and replace the lamp on schedule, not on failure. Verify wavelength accuracy with the appropriate reference materials or a manufacturer’s test plate, check photometric accuracy and linearity against neutral-density or calibrated filters, and exercise the plate carrier mechanically—carrier misalignment and worn drive belts produce edge wells that read differently from center wells. Keep on hand: the correct lamp for each reader model (they are model-specific and often discontinued years before the instrument), drive belts, filter wheels’ fasteners, and fuses.
A combined preventive-maintenance schedule
| Instrument | Daily / per use | Monthly–quarterly | Annual |
|---|---|---|---|
| Centrifuge | Visual rotor check; balance by mass; log cycles | Interlock test; bucket/adapter and seal inspection; chamber cleaning | Speed verification; drive service per manual; rotor life audit |
| Thermal cycler | Visual block condition; lid closing force | Lid gasket inspection; block cleaning per manual | Temperature mapping vs. uniformity spec; fuse/electrical check |
| Microplate reader | Lamp hours / flash count log | Plate carrier mechanical check; lamp intensity check | Wavelength and photometric verification; lamp replacement on schedule |
Symptoms at intake and the parts they point to
Service intake for these platforms follows recognizable symptom-to-part patterns. The table below collects the ones that appear most often; each row assumes the manufacturer’s service manual has been consulted for model-specific limits and procedures.
| Symptom | Instrument | Likely part(s) | Verification after replacement |
|---|---|---|---|
| Excessive vibration, loud spin-down | Centrifuge | Bucket/adapter set, rotor, drive coupling, shock mounts | Balanced run at rated speed; vibration within normal feel; interlock still functional |
| Lid opens before full stop / no lock | Centrifuge | Lid interlock switch (original part only) | Interlock test; containment undisturbed |
| Condensation in chamber, poor cooling | Refrigerated centrifuge | Chamber seals, refrigeration service | Temperature pull-down test to setpoint |
| Edge wells fail, center wells pass | Thermal cycler | Peltier module(s), block assembly, block sensor | Temperature map vs. published uniformity spec |
| Evaporation or collapsed wells | Thermal cycler | Heated-lid gasket, lid pressure mechanism | Lid temperature check; run with water controls |
| No display / random resets | Both | Power supply, fuses, ribbon connectors | Electrical safety check; full boot and protocol run |
| Readings drift, high CV across plate | Microplate reader | Lamp, filter(s), fiber optics | Photometric and wavelength verification with reference materials |
| Readings differ by plate position | Microplate reader | Plate carrier, drive belt, optics rail | Mechanical carrier check; flat-field plate read |
Documentation: what an audit actually asks for
Labs accredited to ISO 15189 must keep equipment fit for intended use, with documented maintenance, calibration, and corrective action when performance slips outside specification. In practice an auditor reviewing a centrifuge, thermal cycler, or plate reader asks for three things: a maintenance schedule tied to the manufacturer’s manual, dated records showing the schedule was executed, and evidence that the verification tools themselves were calibrated traceably. A repair organization serving clinical or research labs should therefore return more than the repaired instrument—include a service report listing replaced parts, verification results against the published specification, and the calibration status of the instruments used during testing.
Sourcing parts and consumables
Parts sourcing for these platforms is where service teams lose the most time. Original service parts for older centrifuge and thermal cycler models are frequently discontinued, and replacement lamps for microplate readers are notorious for model-specific part numbers that change across production generations. Working with a supplier that tracks part equivalences across model generations and stocks the high-frequency items—rotor accessories, bucket and seal kits, lid gaskets, lamps, fuses—shortens downtime more than any other single change. Our PCR and centrifuge parts category and our microplate reader parts category list components by brand and model family, and our repair tools category covers the fixtures and hand tools used across these service jobs.
When requesting a quote, include the instrument manufacturer, model and serial number, the failed part or symptom, and for safety-relevant parts (buckets, seals, lid assemblies) confirmation of the instrument’s original containment or certification markings. Teams extending in-house capability across platforms can build that skill on structured courses; see our repair training program, and contact us with the instrument details for a parts quote.