



Blog
Endoscope Repair Bench Setup: Tools, Test Equipment, and Consumables Checklist

A new endoscope repair shop does not fail because of missing ambition — it fails because the first bench was built around hand tools alone, and then a video scope with a cracked camera head arrived and there was no ESD protection, no calibrated torque control, and no way to verify a leak test. This checklist lays out the tools, test equipment, and consumables a working bench needs for flexible endoscope and camera system repair, along with the verification standards that keep the bench honest as work volume grows.
Start With the Bench, Not the Parts
Inventory is tempting to buy first because parts catalogs are easy to read and tools are not. Resist it. Two benches matter before the first scope arrives: a work surface with ESD control for anything containing a CCD or CMOS sensor — video scopes, camera heads, and board-level parts — and a clean zone for optical work where fiber ends and lenses are handled. Everything in the list below exists to support one of three activities: opening assemblies without damaging them, verifying function before release, and documenting what was done.
Hand Tools and Fixtures
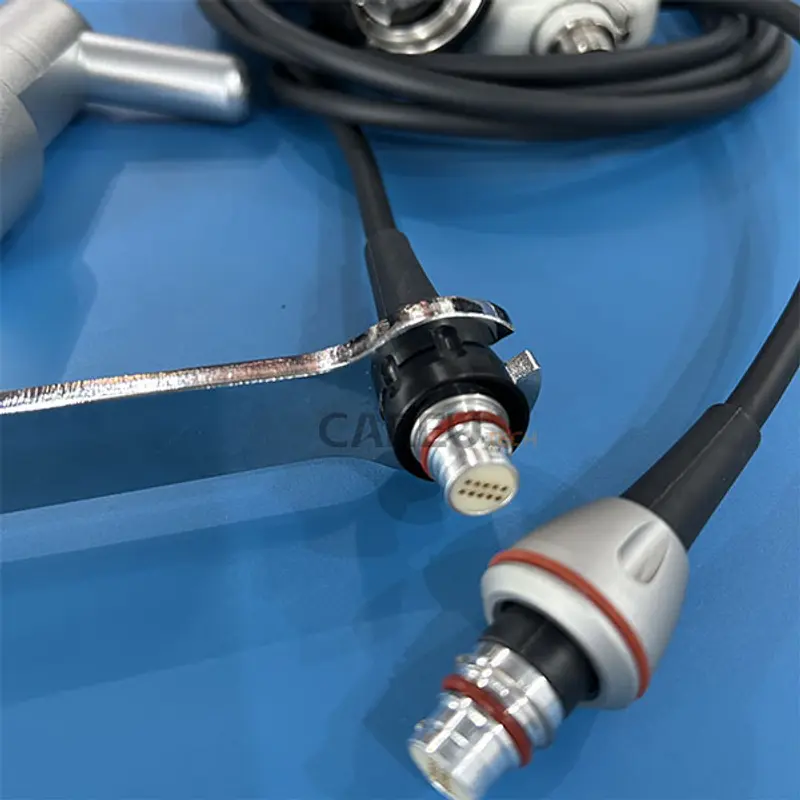
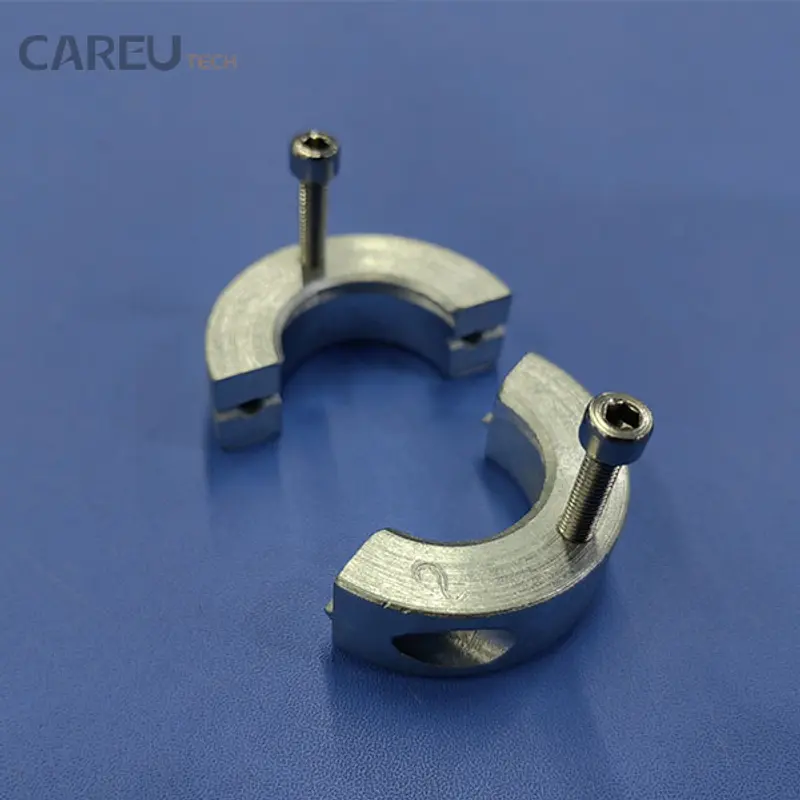
Most of a flexible scope bench is fine handwork: drivers, picks, hemostats, and a set of purpose-built wrenches and clamp fixtures for camera heads, light posts, and bending section collars. Three requirements separate a repair bench from a generic electronics bench:
- Torque control. Camera head screws, light guide collars, and bending section fasteners strip or crack at low torque values. A torque screwdriver set is not optional, and the tools themselves need periodic calibration — ISO 6789-2:2017 (calibration of hand torque tools) specifies the calibration methods and measurement-uncertainty requirements for indicating (Type I) and setting (Type II) hand torque tools, which is the reference your calibration lab will quote.
- Model-specific fixtures. A wrench that fits one brand’s camera head coupling will mar another’s. Start with fixtures for the brands you actually service, and add as the intake mix grows.
- Non-marring handling. Plastic-jawed pliers, silicone mats, and soft vise jaws protect polymer surfaces that cosmetic inspection will judge.
| Category | Typical items | What it is for |
|---|---|---|
| Opening and disassembly | Precision driver sets, picks, hemostats, spacer blocks, bending section clamp fixtures | Opening control bodies and bending sections without scratching polymer surfaces or crossing wires |
| Torque control | Torque screwdrivers (Type II), small torque wrenches, bit sets | Fasteners on camera heads, light posts, and bending collars; calibrated per ISO 6789-2:2017 |
| Model-specific wrenches | Camera head coupling wrenches, light post tools, O-ring picks and seaters | Brand-specific assemblies where improvised tools damage housings |
| Tube and channel work | Tube pulling and threading tools, epoxy dispensers, heat gun with temperature control | Insertion tube and channel replacement; controlled adhesive cure |
| General bench | Cutting mats, component trays, magnifier arms, labeled storage | Keeping small parts and fasteners organized through a multi-hour teardown |
ESD Protection for Video Scopes and Camera Heads
Anything with an image sensor is an electrostatic-discharge-sensitive item, and ESD damage is the classic invisible failure: the part passes inspection and dies in the field. The reference standard is ANSI/ESD S20.20-2021, which applies to organizations that service, test, or otherwise handle electronics susceptible to discharges of 100 volts or more under the human body model, and requires a written ESD control program covering training, grounding, personnel grounding, packaging, and a documented compliance-verification plan. A starting bench needs, at minimum:
- A grounded work surface and a common ground point, with the grounding system verified by measurement rather than assumed.
- Wrist straps for every technician, checked daily at a tester station.
- ESD-shielding packaging for sensors and board-level parts in storage and transit — a board in a regular poly bag is an unprotected part.
- Ionization where plastic housings and non-conductive fixtures are unavoidable at the workstation.
- A log: the most common audit failure is not a missing wrist strap, it is missing verification records.
You do not need formal certification on day one, but building the bench to the standard’s structure — written plan, defined protected area, verified grounding, records — means an upgrade later is paperwork instead of a rebuild. It is also a sales argument: hospitals and ISOs auditing their suppliers increasingly ask for ESD controls when camera heads and processors change hands.
Pressure and Leak Test Equipment
A leak tester with a submersion tank is the single most important verification device on the bench, because it is both an acceptance tool and a diagnostic tool. Size it against the international baseline: ISO 8600-7:2012 requires a water-resistant endoscope to hold at least 20 kPa of positive pressure, fully submerged, for at least one minute at 10–40 °C. Your tester must comfortably exceed that floor, hold pressure stably, and accept adapters for the scope families you service. Add a calibrated reference gauge so the tester itself can be validated, spare adapter gaskets on the shelf (they are the most common false-failure source), and water-resistant caps for testing video scopes. Specialty wrenches, clamp fixtures, and torque tools for the common scope families are listed in the repair tools section, and workshops that both diagnose and repair will also stock channel tubing, boots, and seal kits from the flexible endoscope parts catalog.
Optical Inspection and Cleaning Station
Fiber bundles, lenses, and connector end-faces are judged visually, so the bench needs more magnification than a screen provides: a stereo microscope for connector faces and distal tips, a borescope or fiberscope for looking inside channels and tubes, and a strong adjustable light. Cleaning supplies belong at the same station — lint-free wipes, optical-grade isopropyl alcohol, and air duster — because a contaminated end-face reads as a broken bundle. Keep this zone physically separate from the teardown zone; grinding dust and epoxy residue are permanent once they reach an optical surface.
Consumables to Stock
| Consumable | Used for | Bench notes |
|---|---|---|
| Medical-grade epoxy / adhesive | Distal bonds, tube junctions, boot seating | Match cure schedule to the datasheet; date-opened labels on every container |
| O-rings and seal kits | Valves, light posts, ETO and water-resistant caps | Organize by scope model; nitrile failure is a top leak-test false positive |
| Heat shrink and sleeving | Strain relief at boots and cable entries | Stock several diameters; overheating during install damages jackets |
| Lubricants (silicone, instrument-safe) | O-ring seating, angulation wire channels | Use types specified for the scope family; keep off optical surfaces |
| Lint-free wipes and IPA | Optical end faces, bonding surfaces | Optical-grade; one wipe per surface, no re-use |
| ESD shielding bags and labels | Sensor and board handling, shipping | Replace worn bags; log their use for sensitive parts |
| Angulation wire and small hardware | Bending section rebuilds | Stock common gauges for serviced scope families |
Calibration and Verification Schedule
Test equipment only means something if it is verified on a schedule. The table below is a realistic starting cadence for a small shop; a quality system built to ISO 13485:2016 treats these records as controlled documents, which matters when customers audit their repair providers.
| Item | What to verify | Cadence | Reference |
|---|---|---|---|
| Torque screwdrivers / wrenches | Accuracy across range; calibration certificate current | Per lab certificate, typically 12 months | ISO 6789-2:2017 calibration methods |
| Leak tester | Pressure accuracy and hold stability against reference gauge | Monthly check; formal calibration annually | Baseline of ≥ 20 kPa / ≥ 1 min from ISO 8600-7:2012 |
| ESD wrist strap testers and surfaces | Grounding resistance within program limits; daily user checks logged | Daily user test; periodic program verification | ANSI/ESD S20.20-2021 compliance-verification plan |
| Stereo microscope and light source | Illumination and focus; lamp hours | Visual check weekly | Bench practice |
| Heat gun / cure equipment | Temperature setting against measured value | Quarterly | Adhesive cure datasheets |
Bench Layout and Workflow
Zone the room in one direction: intake and photography, teardown, parts cleaning, assembly, test and verification, and packaging out. Optical work sits furthest from grinding and adhesive work. Give every scope a job folder from intake — photographs, complaint description, parts used, test results — because the folder is what converts a one-off fix into a repeatable process, and it is the first thing an auditor or a difficult warranty conversation will ask for. Shops that want the full sequence taught end to end can look at the hands-on repair training courses, which follow this bench structure. For camera system work specifically, the camera system parts section lists camera heads, cables, and board-level parts by brand, and questions about outfitting a specific bench are welcome through the contact page.
Frequently Asked Questions
What should a new shop buy first, given a limited budget?
In order: a leak tester with a tank, ESD-safe work surfaces and wrist straps, a torque screwdriver set, a stereo microscope, then model-specific wrenches for the scope families you actually receive. Everything else can trail demand.
Do we need ESD certification before accepting video scopes?
No, but you need the controls. Build the bench to the ANSI/ESD S20.20-2021 structure — grounded surfaces, verified wrist straps, shielding packaging, records — and formal certification can follow when contract volume justifies it.
How often should torque tools be calibrated?
Follow the calibration laboratory’s certificate interval, which is commonly annual for bench use, and re-calibrate immediately after any drop or overload. ISO 6789-2:2017 defines the calibration method and uncertainty requirements the certificate should reference.