


Blog
Flexible Endoscope Biopsy Channel Replacement: Failure Signs, Procedure, and Acceptance Checks

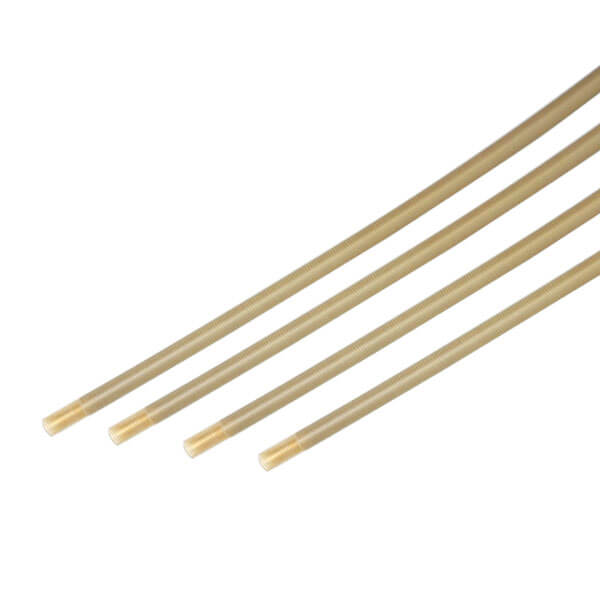
The biopsy channel is the working channel of a flexible endoscope: a continuous polymer tube that runs from the insertion tube’s distal end to the light guide connector, passing through the bending section. Because every forceps pass, brush stroke, and suction event runs through it, the channel typically shows wear before any other scope component. Replacing it is a full bench job that ends with a documented leak test and function check — not a quick tube swap. This guide covers the failure signs that justify replacement, how to select and inspect a replacement channel, the replacement procedure itself, and the acceptance checks to complete before the scope returns to a procedure room.
What the Biopsy Channel Does and Why It Wears First
The channel performs three jobs at once: it guides accessories such as biopsy forceps and snares to the distal tip, it carries suction from the distal end back to the light guide housing, and — together with the air/water channel in many models — it supports insufflation. It is a single continuous extrusion, usually fluoropolymer-lined, with fixed internal diameter and no replaceable sections. Damage anywhere along the length means the whole channel comes out.
Research confirms that usage itself drives channel degradation. A study published in the Journal of Hospital Infection measured retired colonoscope channels against new ones and found the average inner-surface roughness of used biopsy channels was 1.5 times higher than new channels, and that bacterial attachment increased on damaged surfaces (Santos et al., 2020). In the same study’s bench model, 500 forceps passes through a curved tube tripled surface roughness and raised bacterial attachment nearly threefold. The practical reading for repair shops: channel wear is cumulative, invisible from the outside, and directly linked to reprocessing risk.
Accessory design matters too. In an experimental model of a flexible ureteroscope, the tips of 200–250 µm holmium laser fibers shaved the channel’s inner wall at 60° of deflection, and at 120° the fiber either penetrated the channel wall or could not be advanced (Seto et al., 2006). The same study showed that inserting the fiber through a protective tube eliminated the damage. Shops servicing urology scopes should expect shorter channel life and should note laser-related wear patterns during teardown.
Failure Signs That Justify Replacement
Not every channel complaint means the channel is finished. Distinguish between a true channel defect and a cleaning or handling problem before ordering parts. The table below maps the symptoms seen most often at the bench to their likely cause and the correct first action.
| Symptom | Likely cause | First action |
|---|---|---|
| Leak test fails with bubbles at the distal end or along the insertion tube | Channel pinhole or perforation, often from laser contact or sharp accessory tips | Locate the bubble origin under water with the channel pressurized; a confirmed pinhole means replacement |
| Biopsy forceps snag or bind, especially when the scope is deflected | Worn or roughened channel liner, kinked segment, or deformed distal opening | Pass a channel-cleaning brush slowly; if resistance persists after cleaning, suspect liner wear |
| Weak or no suction despite a working suction source | Channel obstruction, partial collapse, or debris buildup on a roughened inner wall | Rule out blockage first; persistent low flow with a clear channel suggests internal damage |
| Fluid or debris visible inside the scope body after reprocessing | Channel-to-distal-cap seal failure or channel breach at the bend section | Open the distal cap at teardown and inspect; replace the channel if the breach is in the tube itself |
| Repeated contamination or biofilm findings after verified reprocessing | Roughened inner surface harboring biofilm (see Santos et al., 2020) | Escalate to channel replacement rather than repeating the same cleaning cycle |
One caution: a positive leak test at the channel can also come from the suction valve seat, the O-rings at the light guide, or the air/water system. Before pulling a channel, isolate the leak using the method described in our guide to endoscope leak test failures. Replacing a channel that was never leaking wastes both the part and a full day of bench time.
Replace or Keep Running: The Decision Points
Channel replacement competes with two cheaper options: another cleaning cycle, or continued use with restrictions. Neither holds up once the channel is structurally compromised. A roughened but intact channel can sometimes be managed with revised cleaning validation for a limited period, but a channel with a pinhole, a collapsed segment, or a deformed distal opening has failed its primary function, and every scope checklist that follows — reprocessing, accessory passage, insufflation — inherits the defect. The decision also carries an infection-control dimension: the Santos et al. findings tie inner-surface damage to bacterial attachment, so a damaged channel is a reprocessing liability even when it still “works” mechanically.
Plan the replacement before the scope is out of circulation. Channel replacement parts for common Olympus, Pentax, and Fujinon models are available from specialist suppliers, but model-specific fit matters, and waiting until teardown to identify the part extends scope downtime. Shops that keep a parts list per scope model in their service records can quote and order during diagnosis, not after disassembly.
Selecting and Inspecting a Replacement Channel
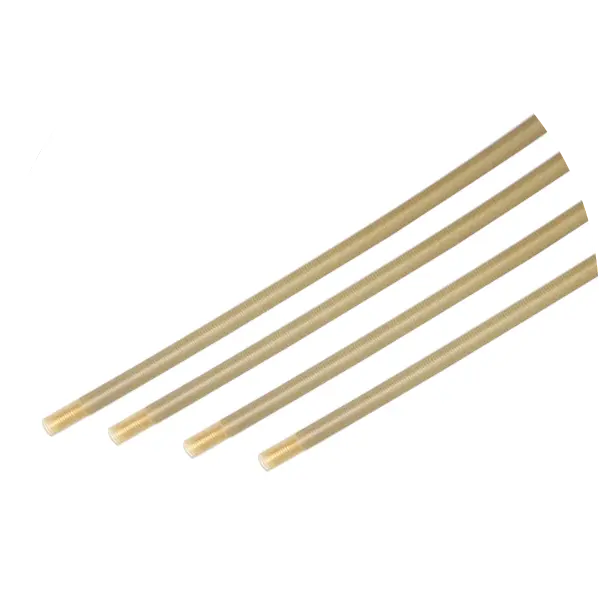
Replacement channels are specified per scope model, because the outer diameter, length, distal-end geometry, and seal interfaces differ across Olympus, Pentax, and Fujinon designs. When sourcing — whether from the flexible endoscope parts catalog or another supplier — verify the model-level fit, the channel’s inner diameter against the scope’s published specification, and the material. Most replacement channels use a PTFE or similar low-friction liner so accessories pass with the same feel as the original.
Run the same incoming inspection on every channel, no matter the source. A channel that ships kinked, nicked, or oversized will fail right after reassembly.
| Check | What to look for | Reject the part if… |
|---|---|---|
| Documentation | Model-level compatibility statement, traceable part number, packaging integrity | No model fit confirmation, or packaging is opened or contaminated |
| Visual: full length | Uniform surface, no kinks, cuts, flat spots, or discoloration along the entire run | Any visible kink, cut, or permanent deformation |
| Distal end | Smooth flared or molded opening, no burrs, correct orientation for the distal cap | Burrs, cracks, or an opening that does not seat the distal cap hardware |
| Proximal end and seals | Seating flange or gland matches the scope’s housing, O-ring seats without forcing | Mismatched flange, deformed seal, or excessive play |
| Accessory passage | A representative forceps or cleaning brush passes freely through the straight channel | Binding, rough travel, or visible debris inside the lumen |
Keep the inspection result with the repair record. If the shop operates under a quality system such as ISO 13485:2016, incoming inspection of repair parts is part of purchasing controls, and the record doubles as evidence for that audit trail. Record the channel’s part number, batch or lot where the supplier provides one, and the technician who performed the inspection, so any later field issue can be traced back to a specific incoming unit.
Replacement Procedure Overview
Channel replacement requires opening the distal end, freeing the channel at the light guide housing, and drawing the new channel through the insertion tube and bending section. Exact disassembly differs by manufacturer and model, so work from the correct service documentation. The sequence below is the common structure of the job.
| Step | Task | Checkpoint |
|---|---|---|
| 1 | Full teardown of the distal end and control section access | Protect the CCD and optics; photograph wire routing and seal order before removal |
| 2 | Remove the failed channel from the distal cap and housing fittings | Note seal orientation and any adhesive or crimp points specific to the model |
| 3 | Withdraw the old channel from the insertion tube | Pull steadily; heavy resistance can mean adhesive at guide points or a collapsed liner |
| 4 | Lubricate and insert the new channel from the proximal end through to the distal cap | Do not force at bends; use a recommended lubricant that will not attack the liner |
| 5 | Seat the distal end into the cap and the proximal end into the housing seals | Confirm flange orientation and O-ring compression per the service manual |
| 6 | Reassemble the bending section and control body | Angulation wires must not cross or pinch the channel at any deflection angle |
| 7 | Run acceptance checks (next section) | No scope leaves the bench without a documented leak test and function test |
Two bench details prevent most rework. First, keep the channel’s path through the bending section identical to the original routing — a channel that sits against the angulation wires will abrade as soon as the tip deflects. Second, avoid over-tightening the distal cap hardware: excessive compression deforms the channel opening and recreates the accessory-snagging symptom you just repaired. Shops building up their bench will find the equipment involved in our repair bench setup checklist.
Acceptance Checks Before the Scope Returns to Service
A replaced channel changes the scope’s pressure boundary, so leak testing is mandatory, not optional. Follow a pressurized immersion test to the parameters in ISO 8600-7:2012 — the standard’s baseline of at least 20 kPa held for at least one minute with the scope fully submerged is a defensible minimum for water-resistant scopes. Sweep the insertion tube, bending section, and connector body visually for bubbles; document pressure, duration, and result.
Then verify function end to end, and document each result on the work order rather than checking them off mentally:
- Angulation through full range in all four directions, watching that the channel does not bind or dent at maximum deflection.
- Air, water, and suction confirmed at the distal tip with a leak tester or suction source connected.
- Accessory passage: pass the largest forceps the channel is rated for, with the tip deflected, and confirm smooth insertion and withdrawal.
- Visual inspection of the distal cap seal and the channel’s visible entry points after the function cycle.
Reprocessing guidance from the FDA’s reprocessing resources underscores why the acceptance bar matters: a scope that returns to service with an unverified channel puts every subsequent patient through an uncontrolled reprocessing path. Shops that follow a documented acceptance sequence — leak, function, accessory pass — hand over scopes that reprocess reliably.
Protecting the New Channel After Replacement
The replacement’s service life depends mostly on what passes through it. Pre-channel inspection of accessories, fully retracting forceps cups before insertion, inserting laser fibers only through protective tubes when the model requires it, and never forcing an accessory at full deflection all extend channel life measurably. Clinics that cannot adopt those handling habits will see the same failure signs return on a new channel.
For teams planning the repair itself, our hands-on repair training covers channel replacement on common Olympus, Pentax, and Fujinon models, and our team can quote compatible replacement channels through the contact page.